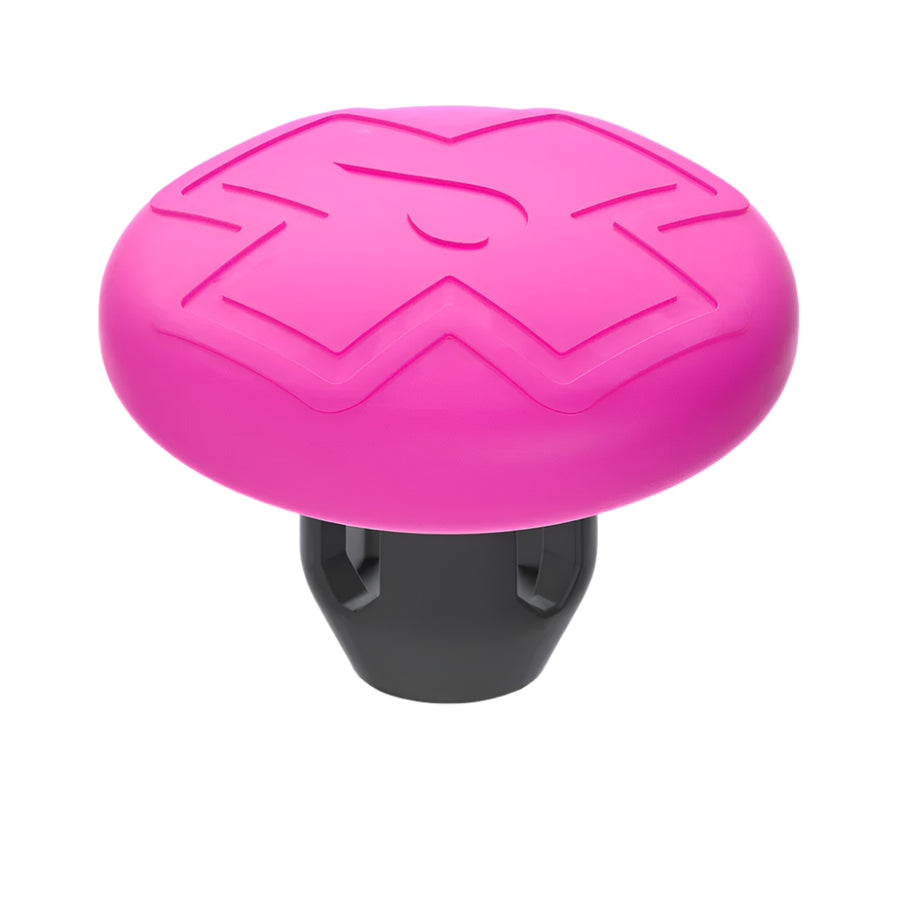
Protect your pride and joy!
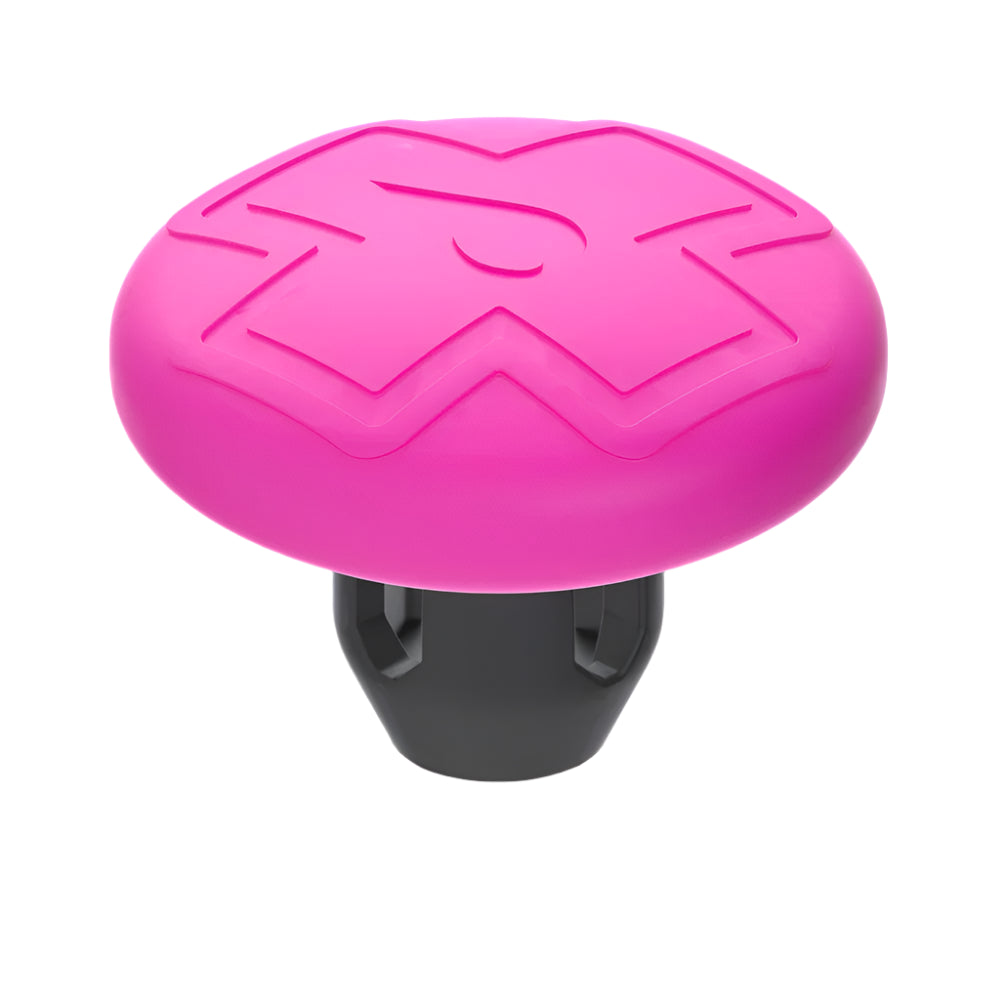
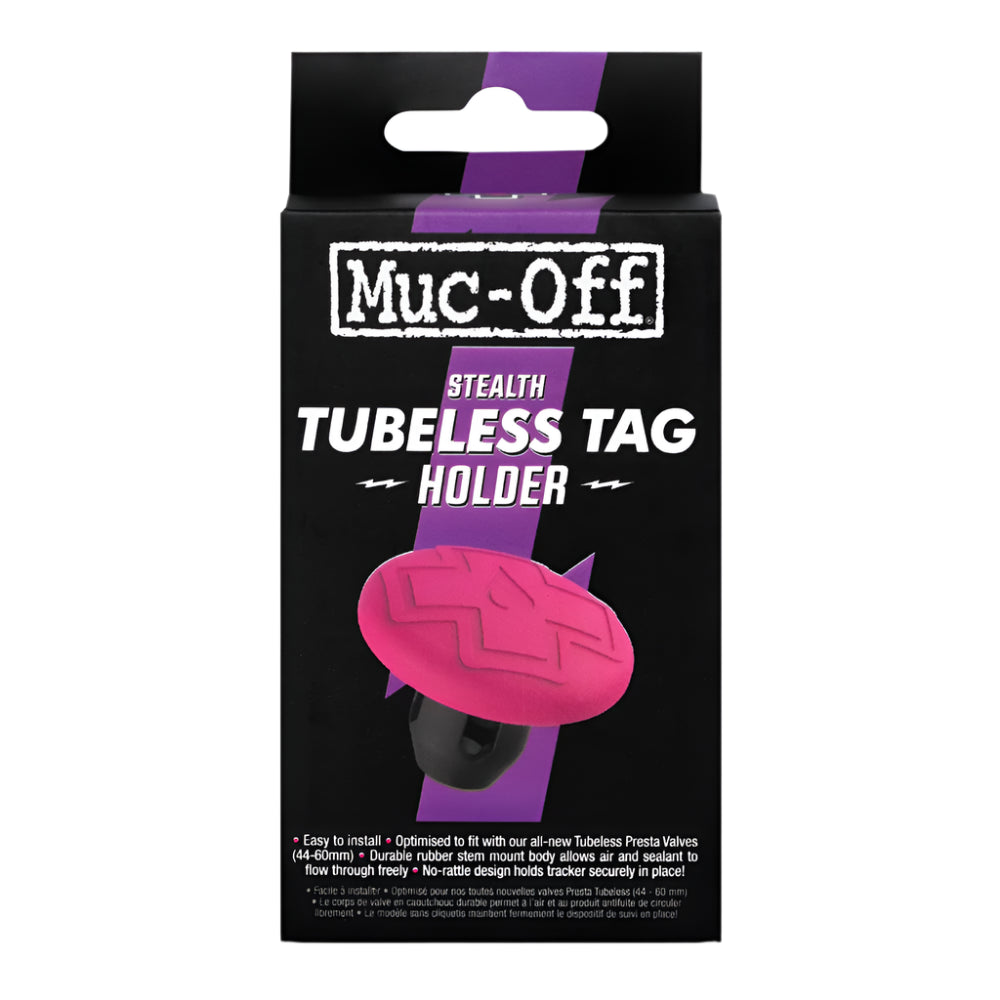
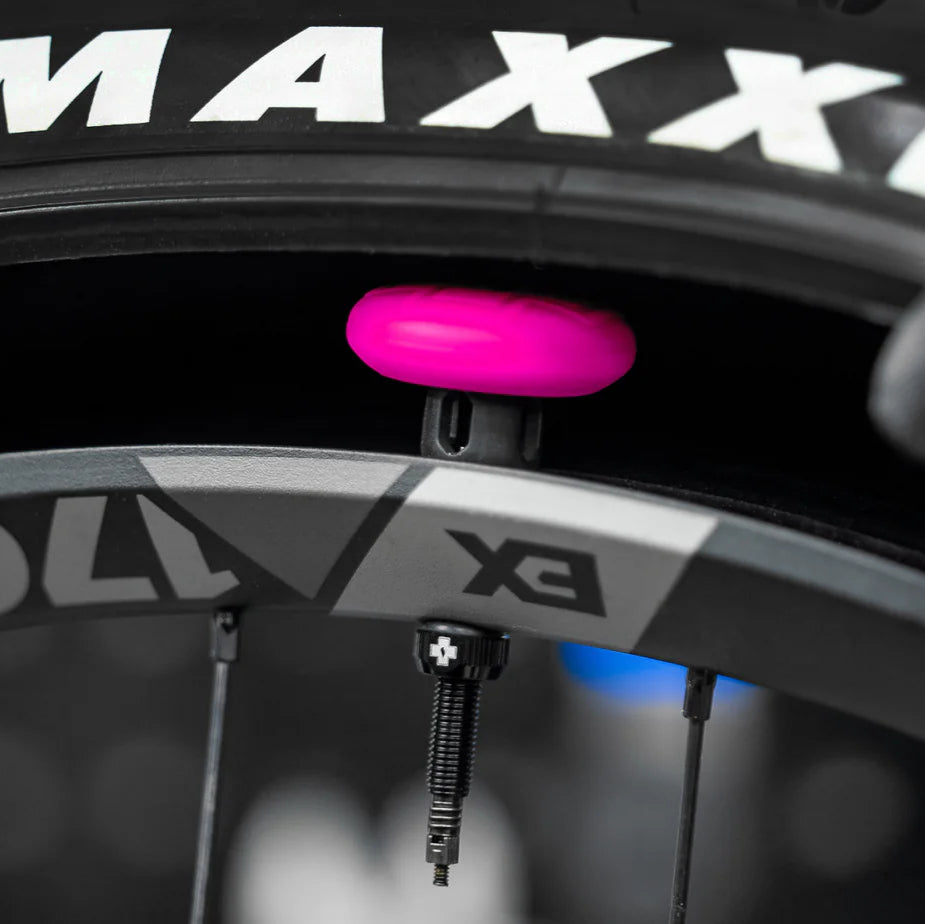
The Muc-Off Tubeless Tag Holder offers a discrete way to install a tracker inside your bicycle’s tubeless rear tyre alongside our Tubeless Valves, meaning you can track your bike in the event of it being stolen and can locate it using the Find My iPhone app.
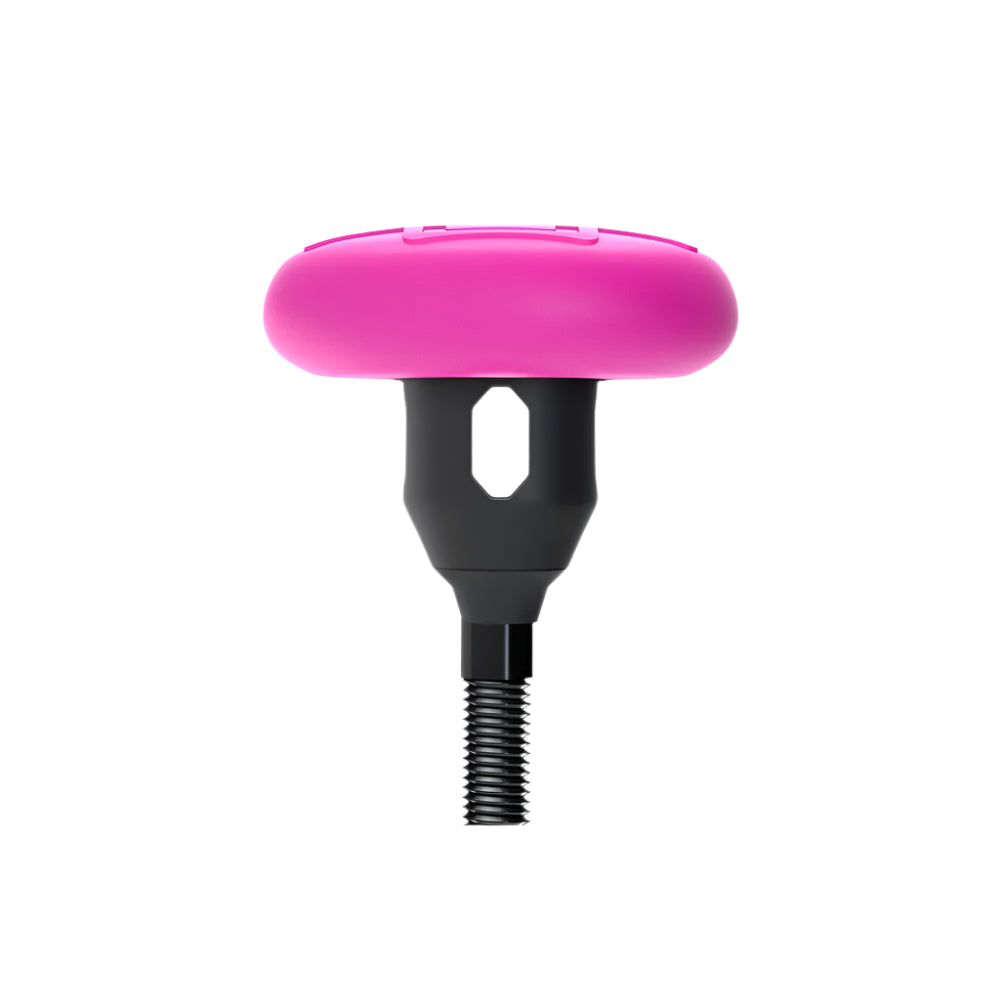
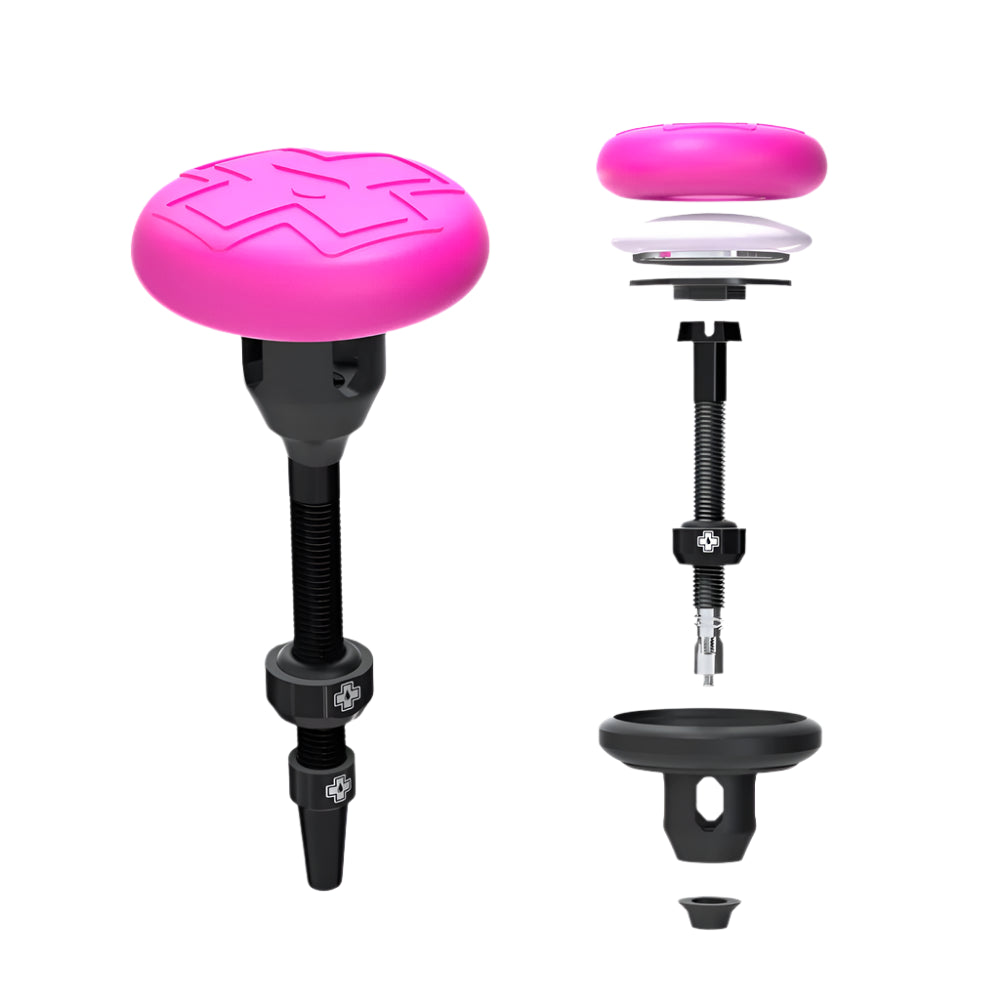
Your tracker will be housed in a 3-piece silicone and tubeless rubber protective valve-mount and will be supplied with our range of tubeless valve bases, so you can ensure an airtight seal against your rim when installed inside your tubeless tyre.
Please note: AirTag Tracker and Tubeless Valves are not included with holder, sold separately. Only compatible with our Tubeless Valves.
FEATURES
- Easy to install
- Optimised to fit our All-New Tubeless Presta Valves (44-60mm). Works with our V1 Presta Valves
- Sacrificial stem, ensures tracker and rim protection even after a big hit to the wheel
- Durable rubber stem mount body allows air and sealant to flow freely
- Silicone top cover protects tracker
- Does not block tracker signal
- Supplied with 3 pairs of our rubber valve bases
- Rattle-free design keeps tracker securely in place
- Weighs 7.5g without AirTag -18.7g with AirTag
- Designed to be used in rear wheels
- Patent pending
- Tracker is not included with holder
HOW TO USE
Placing a tracker into the Tubeless Tag Holder:
- Take the Tubeless Tag Holder out of the packaging and then carefully remove the pink silicone top cover from the black rubber body, followed by the internal plug.
- Ensure the tracker is set up and connected to your iPhone app.
- Take your tubeless valve and remove the valve cap, lock ring and o-ring from the valve stem, then place the tubeless valve downwards into the hexagonal rubber groove on the black stem mount. Pull the valve from the valve core side until the valve base butts up with the inner base of the holder. (Keep the o-ring and lock ring safe until fitting to the rim.)
- Place the internal plug over the hexagonal opening to lock the tracker storage compartment.
- Place the tracker on top of the plug with the battery cover facing downwards towards the base of the stem mount. It is best to push the tracker into place using both thumbs so that the side walls of the black rubber body come over the sides of the tracker.
- Then carefully place the silicone top cover over the assembled tracker and storage compartment, turning it inside out and slowly stretching the cover until it covers the whole compartment.
- Finally, select the appropriate rubber grommet for your rim type and slide it over the valve stem until the base butts up with the underside of the tracker holder.
Fitting into the wheel:
- If using with an existing tubeless setup, deflate your tubeless tyre, pull your tyre off the bead and remove your tubeless valve.
- Clean the valve hole area on the inside of your rim with a clean microfibre cloth to remove any excess sealant before installing the tubeless tag holder. (You can use our glue and sealant remover for any stubborn sealant that needs cleaning.)
- Take your assembled Tubeless Tag Holder with the valve fitted and push the valve stem into the rim hole until it bottoms out. Then place the rubber o-ring over the valve stem and slide it down until it meets the rim.
- Thread the lock ring onto the valve stem and tighten it up over the o-ring. This sits between the lock ring and the rim. Push down on the top of the Tubeless Tag Holder inside the rim whilst tightening the lock ring and tighten until the lock ring is hand-tight and the rubber o-ring is squashed. This way you will know you have created a good airtight seal. (TIP: Do not overtighten, as this can lead to leaks. Finish by screwing on your preferred valve cap.)
- Re-fit your tyre, starting at the tracker stem, mount your tyre and ensure the bead goes past the base of the tracker stem.
- Use the valve core removal tool (integrated into the spare alloy cap) to remove the core and top up with tubeless puncture sealant and inflate to the tyre manufacturer’s recommended PSI.
- Job done, go ride!
If using the Tubeless Tag Holder with a new tubeless setup and tyre, it is recommended that you inflate and bead the tyre to the rim using the tubeless valve without the Tubeless Tag Holder installed first. This is because the Tubeless Tag Holder can restrict the higher amount of airflow needed for initial tubeless setup. Then remove the valve and place it into the Tubeless Tag Holder following the assembly process and steps above.
Note: Periodically remove the tracker from the holder and dry off any excess tubeless sealant when replacing or topping up your sealant.
You may need to replace the tracker battery every 6 months to 1 year.
We accept no liability for any damage to the tracker as a result of its use with our tubeless valve mount system.
Muc-Off Ltd and any of its group/linked companies are not liable for any loss of property or theft in relation to the use of this product. We recommend using a high-quality lock whenever leaving your bicycle unattended or in your garage or home.
COMPATIBILITY
Please Note: The Stealth Tubeless Tag Holder is only compatible with tubeless setups using our Tubeless Valve. Designed for use in the rear wheel only.
Compatible tyre types:
-
MTB tyres (XC, Enduro Trail, Downhill, E-MTB).
-
Gravel Tyres (Narrowest recommended tyre measure is 38c wide)
-
For Road Bikes with narrower tyres or incompatible wheel types, please use our Secure Tag Holder.
WHAT'S INCLUDED?
DEVICE ONLY
- Stealth Tubeless Tag Holder
- 3x Rubber valve bases
Not included - Sold Separately
PACK
- Stealth Tubeless Tag Holder
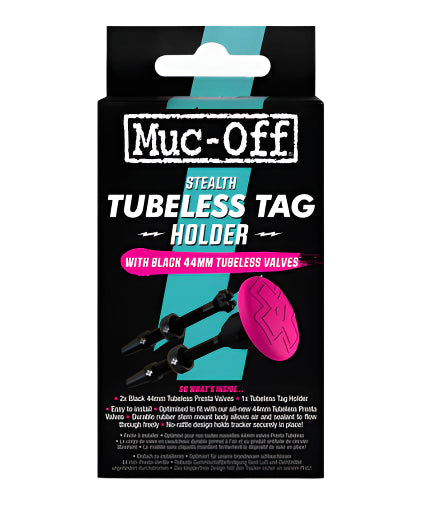
2x All-New Tubeless Valves - 44mm - Black
3 pairs of rubber valve bases
Not Included - Sold Separately
Apple AirTag